
Last updated September 24, 2026
Free written scope consultation - allowances, timeline, and change-order rules on paper before a single trade is scheduled







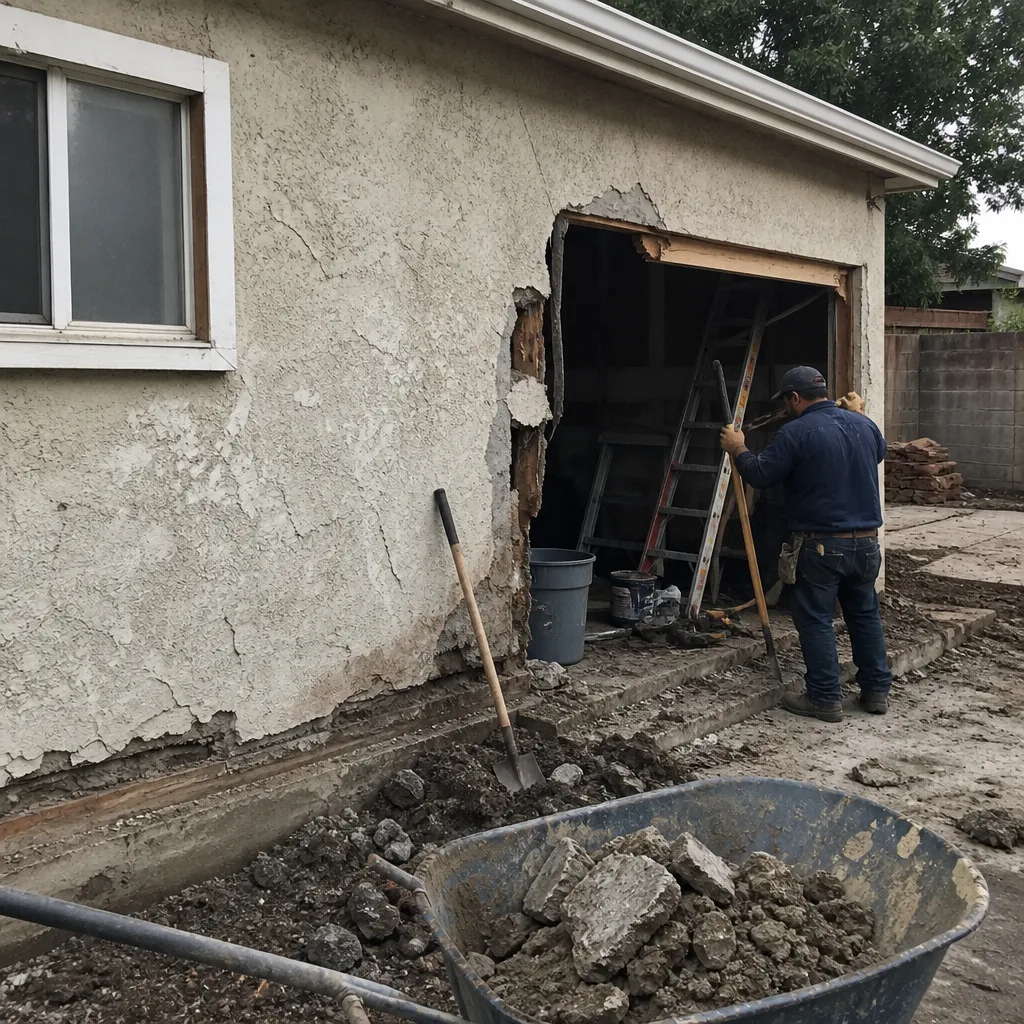 Before
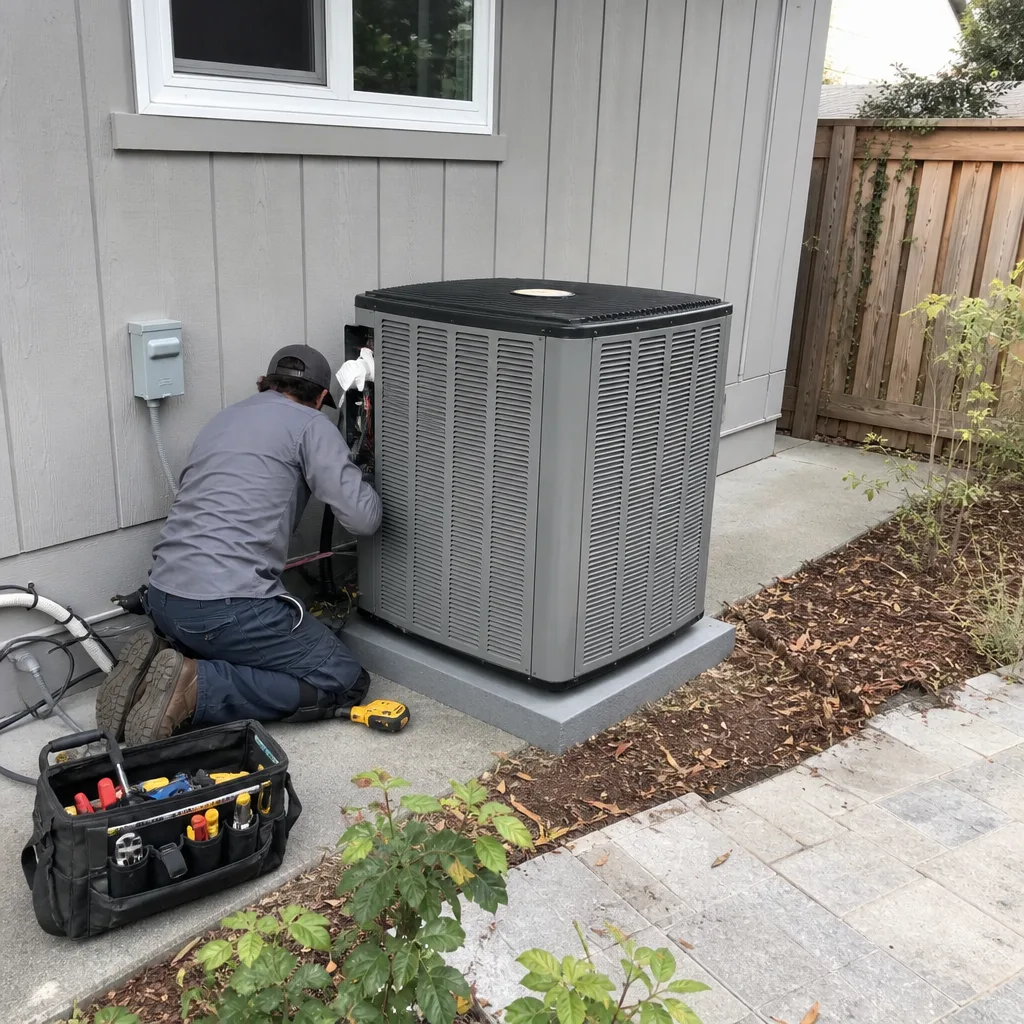 After
After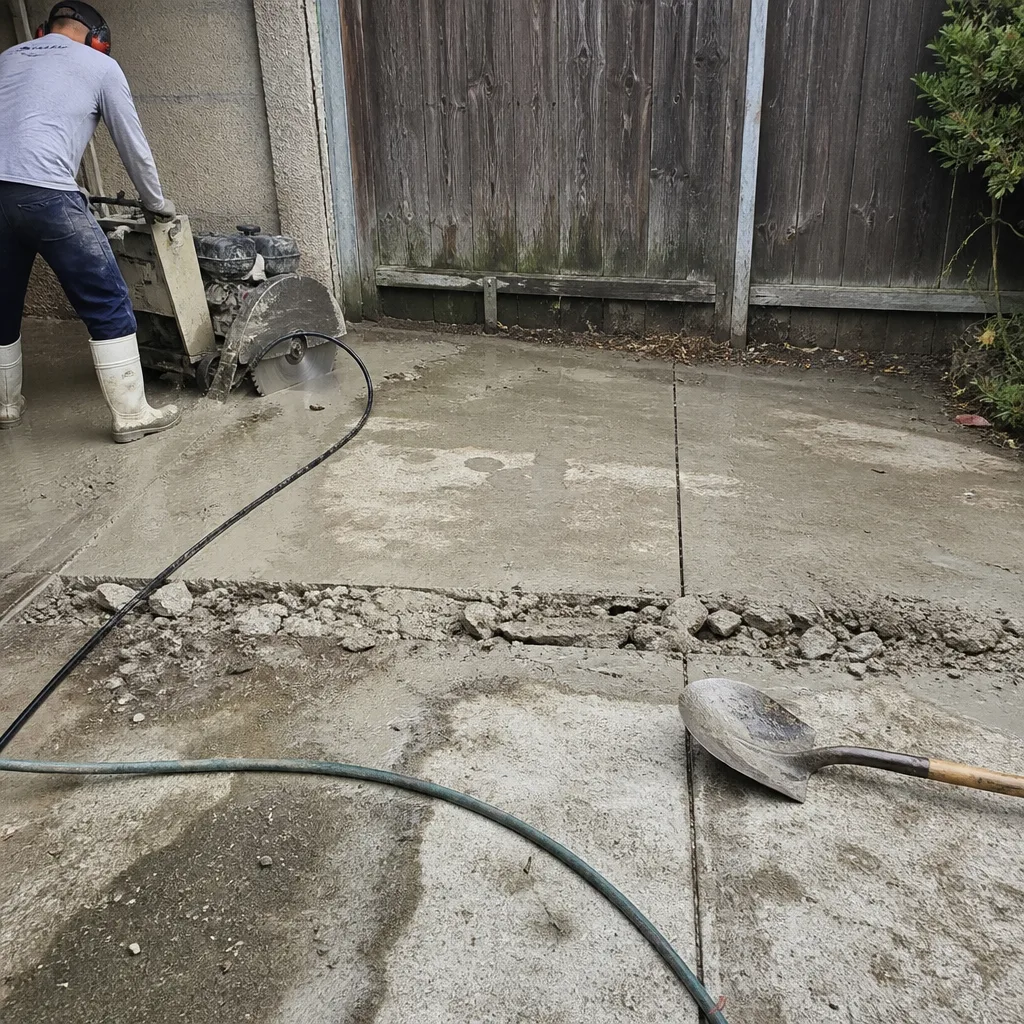 Before
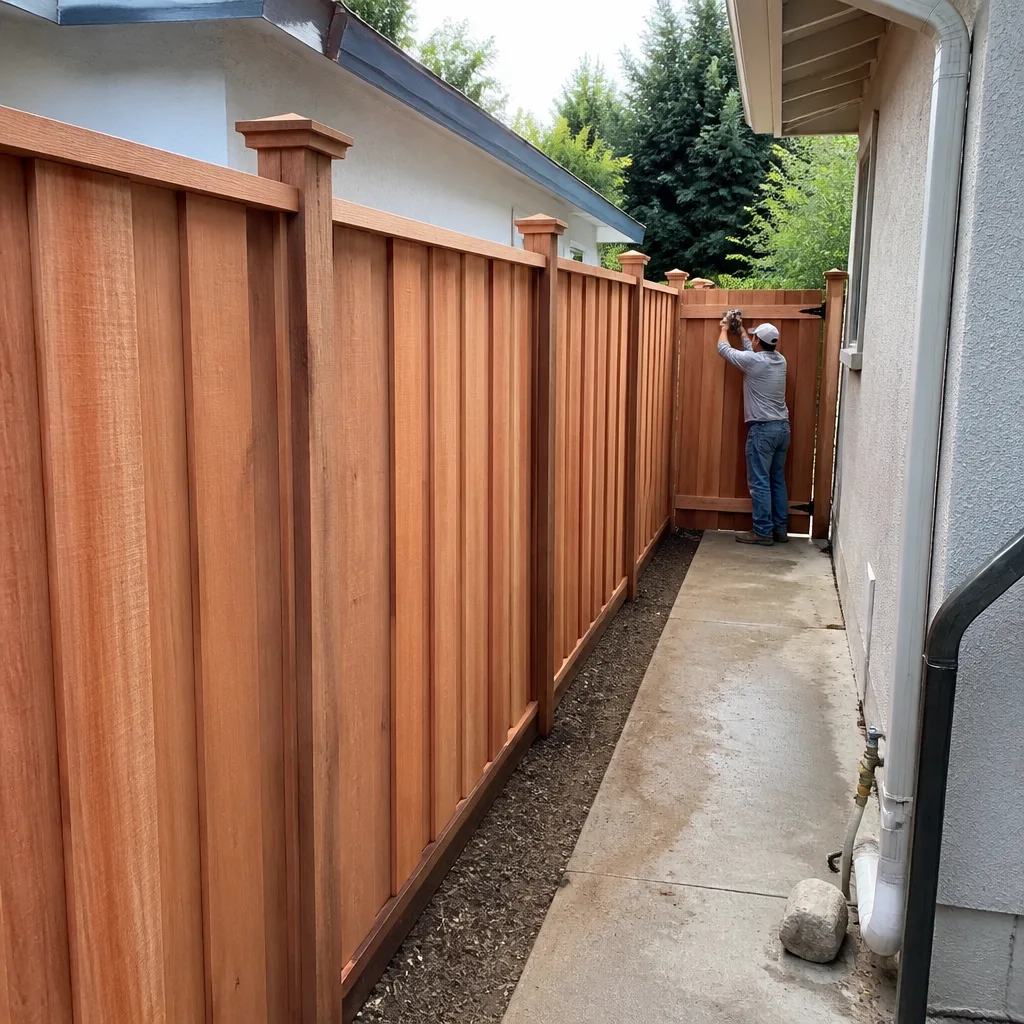 After
After Before
 After
AfterSeasonal Construction Care for San Jose: Year-Round Homeowner’s Guide
San Jose averages only 300 sunny days a year, but those 65 rainy days arrive hard. The 2023 atmospheric river season dropped more than 12 inches in 45 days, and the roofing and drainage failures it exposed had been building silently since the previous dry summer. In our experience at Rowan Construction Group San Jose, the homeowners who fare best are not the ones who spend the most; they are the ones who time their inspections to the climate, catching thermal expansion damage in August and flashing gaps in October before the rain turns them into interior repairs. This guide assigns specific tasks to each quarter, with material names, measurement thresholds, and the code references that make them actionable in Santa Clara County.
Quick Answer
Seasonal construction care in San Jose means four distinct maintenance calendars: pre-rain roof and drainage inspection in October-November, wet-season moisture monitoring from January through March, dry-season repair and ventilation work from April through June, and heat-stress assessment from July through September. Annual seismic readiness checks should happen in any quarter. The specific thresholds that separate watch-and-wait from call-a-contractor are listed below by season.
Table of Contents
- October-November: Pre-Rain Preparation
- January-March: Wet-Season Monitoring
- April-June: Dry-Season Repair and Recovery
- July-September: Heat-Stress Assessment
- Annual Seismic Readiness Review
- What to Document and When
- Common Mistakes to Avoid
- When to Call a Professional
- Frequently Asked Questions
 Before
 After
AfterOctober-November: Pre-Rain Preparation
San Jose’s rainfall concentrates between November and March, with the heaviest periods typically arriving in December and January. The dry months preceding them are when materials contract and seals degrade; the first storms then find every weakness. We schedule more emergency roofing in San Jose during the second week of November than any other two-week period, almost always for conditions that were visible in September.
Roof Flashing Inspection at Penetrations
Flashings are the metal pieces that seal where pipes, vents, or chimneys pass through the roof plane. In San Jose’s climate, the daily thermal swing between 85°F afternoons and 55°F nights from September through October causes aluminum and galvanized steel to cycle through expansion and contraction roughly 60 times before the rain arrives.
Inspect every penetration with a flashlight and a feeler gauge or ruler. Measure any gap between the flashing and the roof surface, or between the flashing collar and the pipe itself. A gap exceeding 1/8 inch is actionable; water will bridge smaller gaps with surface tension, but 1/8 inch allows direct entry. Check the following locations in order:
- Plumbing vent stacks (usually 1.5 to 3 inches diameter, with rubber boots that crack after 7-10 years)
- HVAC condensate lines and combustion air intakes
- Chimney cricket flashings, where the diagonal joint meets the main roof plane
- Skylight perimeters, especially on south-facing slopes where UV exposure is highest
The repair for gaps under 1/4 inch is typically polyurethane sealant (NP-1 or Sikaflex 1a) applied to a clean, dry surface. Gaps larger than 1/4 inch, or any flashing that lifts when pressed by hand, indicate the substrate has degraded and the flashing should be reinstalled.
Gutter Downspout Extension
Santa Clara County grading standards require roof drainage to discharge at least 6 feet from the foundation, with a minimum 2 percent slope away from the structure for the first 10 feet. In practice, many San Jose homes built between 1950 and 1985 have downspouts terminating at the foundation line, or splash blocks that have settled below grade.
Measure the discharge point with a tape measure and a 4-foot level. If the soil within 6 feet of the foundation is flat or backpitched, add rigid extension pipe (3-inch or 4-inch PVC, or corrugated HDPE in areas with root intrusion). Underground drain lines are preferable where surface runoff crosses walkways, but they must terminate in daylight or a dry well; connecting them to the municipal storm system requires a permit in San Jose.
Crawl Space Vapor Barrier Check
San Jose’s winter soil moisture rises significantly even without surface flooding, as the clay-heavy soils in neighborhoods like Willow Glen and Almaden Valley wick water laterally. A crawl space vapor barrier of 6-mil polyethylene should cover 100 percent of the soil, with seams overlapped 12 inches and taped.
Inspect for:
- Tears or displacement at the perimeter, where trades have crawled over it
- Condensation on the underside of the floor joists, indicating the barrier has failed or the ventilation is inadequate
- Standing water, which in San Jose’s climate typically indicates a perimeter drainage failure rather than a plumbing leak
If the barrier is intact but joists show moisture, check the foundation vents: they should equal 1 square foot per 150 square feet of crawl space area, and they should not be blocked by stored items or landscaping.
January-March: Wet-Season Monitoring
San Jose receives 15 to 20 inches of rain in a typical winter, with 70 percent falling in these three months. The task is not to prevent water entry, which should have been addressed in October, but to detect it early enough to limit damage and document conditions for insurance or warranty claims.
Concrete Flatwork Crack Measurement Protocol
Concrete driveways, patios, and garage slabs in San Jose are poured on expansive clay soils that swell with winter moisture and shrink in summer drought. The resulting movement produces cracks that are normal up to a threshold, and structural concerns beyond it.
Measure every visible crack monthly during the wet season. Record width with a crack gauge or ruler, and note any vertical offset across the crack faces. The structural concern threshold is 1/4 inch in width, or any vertical offset regardless of width. A crack that is 1/8 inch wide but has one side 3/8 inch higher than the other indicates differential settlement, which will continue and may affect foundation walls.
For cracks under the threshold, photograph and date them. For cracks at or over the threshold, photograph with a ruler in frame for scale, and monitor weekly. If the width increases by more than 1/16 inch in a single month, or if the vertical offset changes at all, the condition warrants structural evaluation.
Interior Wall Moisture Reading Targets
Pin-type moisture meters (Delmhorst or Protimeter are common brands) measure the electrical resistance between two probes driven into the material. For gypsum drywall in San Jose’s winter conditions, readings should stay below 16 percent moisture content. Readings of 16 to 20 percent indicate elevated humidity or a minor leak; readings above 20 percent confirm active water intrusion and the beginning of mold-conducive conditions.
Test in these locations:
- Below every window, where condensation or sash leakage collects in the sill plate
- At the base of exterior walls, especially on the north and west elevations where wind-driven rain is heaviest
- Behind plumbing fixtures on exterior walls, where pipe penetrations create thermal bridges
- Ceiling areas below roof valleys and at chimney crickets
Take readings at the same points monthly, and record them. A reading that rises by 4 percentage points or more between checks indicates an active leak, not ambient humidity.
Sump Pump Test Procedure
Homes in low-lying San Jose neighborhoods, particularly near the Guadalupe River corridor or in parts of Alviso and Berryessa, may have perimeter drain systems with sump pumps. The test is simple and should be performed monthly during the wet season:
- Locate the sump pit and verify the pump is plugged into a grounded outlet, not an extension cord
- Pour 5 gallons of water into the pit slowly, simulating a groundwater rise
- Verify the pump activates before the water reaches the intake port
- Confirm discharge flows freely through the outlet pipe, with no backflow or freezing at the termination
- Listen for cycling - a pump that starts and stops rapidly indicates a stuck float or undersized basin
A pump that fails any of these tests should be replaced before the next storm. Battery backup systems are worth considering in areas with winter power outages; San Jose’s urban core sees fewer outages than the hillside neighborhoods, but 2023’s atmospheric rivers caused extended failures in pockets of the city.
April-June: Dry-Season Repair and Recovery
By April, San Jose’s rainfall probability drops below 10 percent and soil moisture begins its summer decline. This is the repair window: materials are dry, access is unimpeded by weather, and the next wet season is six months away. We complete the majority of our kitchen remodeling in San Jose and bathroom remodeling in San Jose during this period, because demolition and drying are predictable.
Stucco Crack Repointing with Type S Mortar
Stucco, the dominant exterior finish in San Jose’s postwar neighborhoods, develops hairline cracks from thermal cycling and soil movement. Cracks under 1/16 inch are typically cosmetic. Cracks between 1/16 and 1/8 inch should be repointed to prevent water entry in the following winter.
The correct material is Type S mortar mix (one part Portland cement, one part hydrated lime, four to four-and-a-half parts sand), not caulk or patching compound. Caulk traps moisture behind it; Type S mortar breathes and matches the substrate’s thermal expansion. The procedure:
- Widen the crack to 1/4 inch with a grinder or cold chisel, creating a V-profile for mechanical bond
- Brush out dust and dampen the surrounding stucco
- Apply mortar with a pointing trowel, pressing firmly to fill the full depth
- Tool to match the adjacent texture - float for sand finish, sponge for lace, or skip-trowel for heavier patterns
- Mist-cure for 48 hours, keeping the repair damp in San Jose’s spring wind and sun
Cracks wider than 1/8 inch, or cracks that reappear in the same location after repair, indicate structural movement and should be evaluated before cosmetic repair.
Wood Deck Board Cupping Measurement
Decks in San Jose’s climate suffer from intense summer sun and winter wet, with redwood and cedar moving the most. Cupping - where board edges rise above the center - creates trip hazards and accelerates finish failure.
Measure cupping with a straightedge laid across the board width. A gap of 1/8 inch or more between the straightedge and the board center indicates active moisture imbalance, typically from inadequate ventilation below the deck or a finish that has failed on the top surface. Sanding will not correct cupping; it removes material from the high edges and leaves the center proud when the board eventually dries flat. The correct response is to address ventilation (minimum 18 inches of clear space below joists, with airflow on at least two sides) and allow a full dry season before reassessing.
HVAC Filter Change Schedule Tied to Spring Pollen Peak
San Jose’s pollen peak runs from late March through early May, with oak, olive, and walnut as the primary contributors. HVAC filters loaded with pollen restrict airflow, increase energy consumption, and in extreme cases cause evaporator coil freezing.
Replace pleated 1-inch filters every 30 days during the pollen peak, or every 60 days with 4-inch media filters. Measure pressure drop across the filter housing with a manometer if available; a rise of 0.25 inches water column from the clean-filter baseline indicates loading. For homes with kitchen remodeling or bathroom remodeling completed in the previous year, verify that the HVAC contractor resized the return air path for any added volume; undersized returns show up as excessive filter loading in spring.
July-September: Heat-Stress Assessment
San Jose’s summer temperatures spike above 100°F for 10 to 15 days annually, with attic temperatures reaching 140°F or higher in poorly ventilated structures. Heat degrades asphalt shingles, accelerates paint oxidation, and causes thermal expansion in tile and metal roofing that shows up as fastener fatigue or cracked mortar.
Attic Temperature Monitoring
Attic temperature over 130°F indicates ventilation failure. At this threshold, asphalt shingle life is reduced by roughly 50 percent, and conditioned air ducts in the attic lose cooling capacity through radiant gain.
Measure with a thermometer or data logger placed at the attic midpoint, away from the access hatch. Compare the reading to outside ambient temperature at the same time. A well-ventilated attic in San Jose should run no more than 20°F above ambient. If the differential exceeds 30°F, inspect:
- Ridge vent continuity - gaps in the ridge cap or blocked vent slots
- Soffit vent net free area - should equal or exceed ridge vent area; paint and insulation often block soffit vents in older homes
- Gable vent function - louvers should open freely and screens should be intact
- Powered ventilator operation - thermostats set to 110°F, with intake from soffits not from conditioned space
Adding ventilation is typically more cost-effective than radiant barrier retrofit, and far more effective than attic fan installation without corresponding intake vents.
Thermal Expansion Joint Check on Tile Roofs
Clay and concrete tile roofs, common in San Jose’s Spanish Colonial and Mediterranean-influenced neighborhoods, expand and contract with daily temperature swings. The mortar beds that secure ridge and hip tiles crack first; the tiles themselves crack when movement is restrained.
Inspect ridge lines from the ground with binoculars, or from a ladder at the eave. Look for:
- Hairline cracks in mortar beds, which widen with each heat cycle
- Tiles that have shifted from their original position, indicating the mortar has failed
- Exposed nail heads or missing hip and ridge caps
Repairs during the dry season allow mortar to cure properly; winter repairs in wet conditions often fail within the first year. For concrete tile, use Type S mortar with a polymer additive; for clay tile, use a proprietary clay tile adhesive or traditional lime mortar, never Portland cement alone, which is too rigid for clay’s expansion rate.
Exterior Paint Chalking Assessment
Chalking is the powdery residue that forms on oxidized paint film, most visible on dark colors and south-facing walls. Rub a dark cloth across the surface; moderate chalking leaves a light residue, severe chalking leaves heavy residue with visible substrate or primer.
Severe chalking indicates the paint film has lost its binder and will no longer protect the substrate. In San Jose’s UV exposure, this typically occurs at 7 to 10 years for quality acrylic latex, and 4 to 6 years for economy grades. Repainting over severe chalking requires thorough washing with TSP substitute and bonding primer; without this preparation, the new coat will fail by the following summer.
Annual Seismic Readiness Review
San Jose lies within the Santa Clara Valley, with the San Andreas Fault to the southwest and the Hayward Fault to the northeast. The 1989 Loma Prieta earthquake caused significant damage in the downtown and Willow Glen areas, much of it to homes with preventable vulnerabilities. A seismic readiness review should happen annually, in any quarter, and takes approximately 30 minutes.
Water Heater Strap Inspection Per CSST Code
California Plumbing Code requires two straps on water heaters over 52 gallons, with the upper strap in the upper one-third of the tank and the lower strap in the lower one-third. Straps must be 22-gauge metal or heavier, wrapped completely around the tank and anchored to wall studs with 1/4-inch lag bolts into 2-inch penetration.
Inspect for:
- Corrosion at strap ends or bolt heads, common in garage installations with automotive moisture
- Strap looseness - you should not be able to slide a hand between strap and tank
- Anchor pullout from studs, indicated by elongated bolt holes or cracked drywall
- Missing straps on replacement tanks, where installers sometimes omit the second strap
Tankless water heaters require manufacturer-specific seismic restraints, typically wall brackets rather than straps.
Cripple Wall Bracing Visual Check
Cripple walls are the short stud walls between the foundation and the first floor in homes with raised floors, common in San Jose’s pre-1960 housing stock. Unbraced cripple walls collapse in earthquakes, dropping the structure onto the foundation.
From the crawl space or basement, inspect for:
- Plywood sheathing on all cripple wall surfaces - stucco or horizontal wood siding alone is inadequate
- Plywood nailing at 4 inches on panel edges and 6 inches in the field, with 8d common nails minimum
- Hold-down anchors at corners and offsets, connecting the stud wall to the foundation
- Absence of large openings for utilities without adjacent bracing panels
Homes without cripple wall bracing should be evaluated for retrofit, which in San Jose typically costs $3,000 to $7,000 and qualifies for earthquake insurance premium reductions with some carriers.
Chimney Mortar Joint Condition
Unreinforced masonry chimneys are the most earthquake-vulnerable element in most San Jose homes. Inspect mortar joints between bricks or stones with a screwdriver; mortar that crumbles or extracts easily has lost its bond. Spalling - flaking of the brick face - indicates moisture penetration and freeze-thaw damage, rare in San Jose but present in hillside microclimates with colder nighttime temperatures.
Any chimney with deteriorated mortar, visible lean, or separation from the building should be evaluated by a structural engineer or qualified masonry contractor before the next seismic event, not after.
What to Document and When
Documentation transforms maintenance from a chore into an asset. A documented maintenance history increases sale value, supports insurance claims, and provides the baseline that makes change detection possible.
At Rowan Construction Group San Jose, every visit includes a documented photo record as standard, not an upgrade. The customer receives dated images of conditions found and work completed, stored in their project file. For homeowner-performed maintenance, we recommend the same discipline:
- Photograph each inspection point with a date stamp and a ruler or coin for scale
- Record measurements in a single log, digital or physical, with the location specified
- Note weather conditions at the time of inspection - temperature, recent rainfall, wind direction
- Retain product labels and specification sheets for materials used in repairs
Under Clause 1 of The Haven Standard, the price is written before anyone starts. Under the documentation protocol, the condition is photographed before anyone leaves. Both practices exist to eliminate the disputes that arise from memory and assumption.
Common Mistakes to Avoid
- Waiting for visible interior damage before inspecting the roof. By the time drywall stains appear in San Jose’s mild climate, the roof sheathing has been wet through multiple rain cycles and mold colonization has begun in the cavity.
- Using silicone caulk on stucco cracks. Silicone is impermeable; it traps moisture behind the stucco and accelerates substrate decay. Type S mortar is the correct repair material.
- Installing radiant barrier without addressing ventilation first. Radiant barrier reduces radiant heat transfer but does not lower attic temperature if convective ventilation is inadequate. Fix ventilation first, then assess whether barrier is still needed.
- Ignoring cupped deck boards until someone trips. Cupping indicates moisture imbalance that will eventually cause rot in the joist structure. Address ventilation and drainage before the boards require full replacement.
- Testing the sump pump only when the pit is already full. A pump that starts in standing water may have a stuck float or insufficient capacity. The 5-gallon pour test reveals these conditions before they matter.
- Assuming a tankless water heater needs no seismic restraint. Tankless units are lighter but still carry gas and water connections that fail in seismic movement. Manufacturer brackets are required and often omitted in retrofit installations.
- Repainting over chalking without surface preparation. The new coat adheres to chalk, not to substrate, and fails within one season. Wash with TSP substitute and apply bonding primer for a repair that lasts.
When to Call a Professional
Some conditions exceed homeowner maintenance and require trained evaluation: roof flashing gaps over 1/4 inch, concrete cracks with vertical offset, moisture meter readings above 20 percent, attic temperatures over 130°F with no identifiable ventilation blockage, and any chimney lean or mortar deterioration. Structural cracks, seismic vulnerabilities, and conditions that worsen between monthly checks all warrant professional assessment.
Rowan Construction Group San Jose offers free estimates in San Jose. Call (669) 271-8644 to schedule an inspection, or bring a competitor’s written estimate for a free second opinion reviewed line by line. Every project is quoted with a flat written price and written scope before work begins; no change proceeds without a signed change order. The 365-Day Done Right Promise applies to all work: if it is not done right, we make it right, backed by The Haven Standard, not a handshake.
Frequently Asked Questions
Homeowner-performed seasonal maintenance costs $200 to $500 annually in materials and tools. Professional inspection packages for roof, HVAC, and foundation systems range from $400 to $900, depending on access difficulty and system count. Call (669) 271-8644 for an exact quote - estimates are free, and we review competitor estimates line by line at no charge.
No. Under Clause 1 of The Haven Standard, the price is written before anyone starts, every time, on every trade. No change proceeds without a signed change order, which is the discipline that has kept Rowan’s projects within a few percent of the agreed cost across 4,000-plus jobs since 2007.
Pure maintenance - cleaning, inspection, filter replacement, minor repointing - does not require permits in San Jose. Repairs that alter structural elements, modify electrical or plumbing systems, or exceed $1,000 in value typically do. When permits are required for larger projects, Rowan pulls them and passes inspections as part of the written scope.
San Jose’s inland location means hotter, drier summers than San Francisco or Oakland, with greater thermal expansion stress on roofing and siding. Winter rainfall is lower than coastal cities but arrives in more concentrated events, making pre-season drainage preparation more critical. The frost-free growing season allows year-round exterior work, unlike hillside communities with freeze risk.
Quality asphalt shingle roofs last 20 to 25 years in San Jose’s climate with proper ventilation; tile and metal roofs last 40 to 50 years or more. Attic temperatures over 130°F reduce asphalt life by roughly half. We inspect and quote roofing in San Jose with written prices that include ventilation assessment.
Keep dated photographs of all inspection points, measurement logs, product specifications for materials used, and all contractor invoices with scope descriptions. Rowan’s documented photo record on every visit is included as standard, providing the condition evidence that supports warranty claims and adds transaction value.
The Bottom Line
San Jose’s climate delivers concentrated stress in predictable seasons: hard winter rain, intense summer heat, and year-round seismic risk. The homeowners who protect their investment are not those who spend the most, but those who measure at the right times and act on the thresholds that separate normal from problematic. This guide provides those thresholds - 1/8 inch for flashing gaps, 1/4 inch for concrete cracks, 130°F for attic ventilation failure, 16 percent moisture content for drywall - and the seasonal timing that makes each inspection meaningful. Document what you find, repair what you can in the dry season, and call for evaluation when measurements exceed the action limits.
Written by Grant Rowan, Owner at Rowan Construction Group San Jose, serving San Jose since 2007.